
 By admin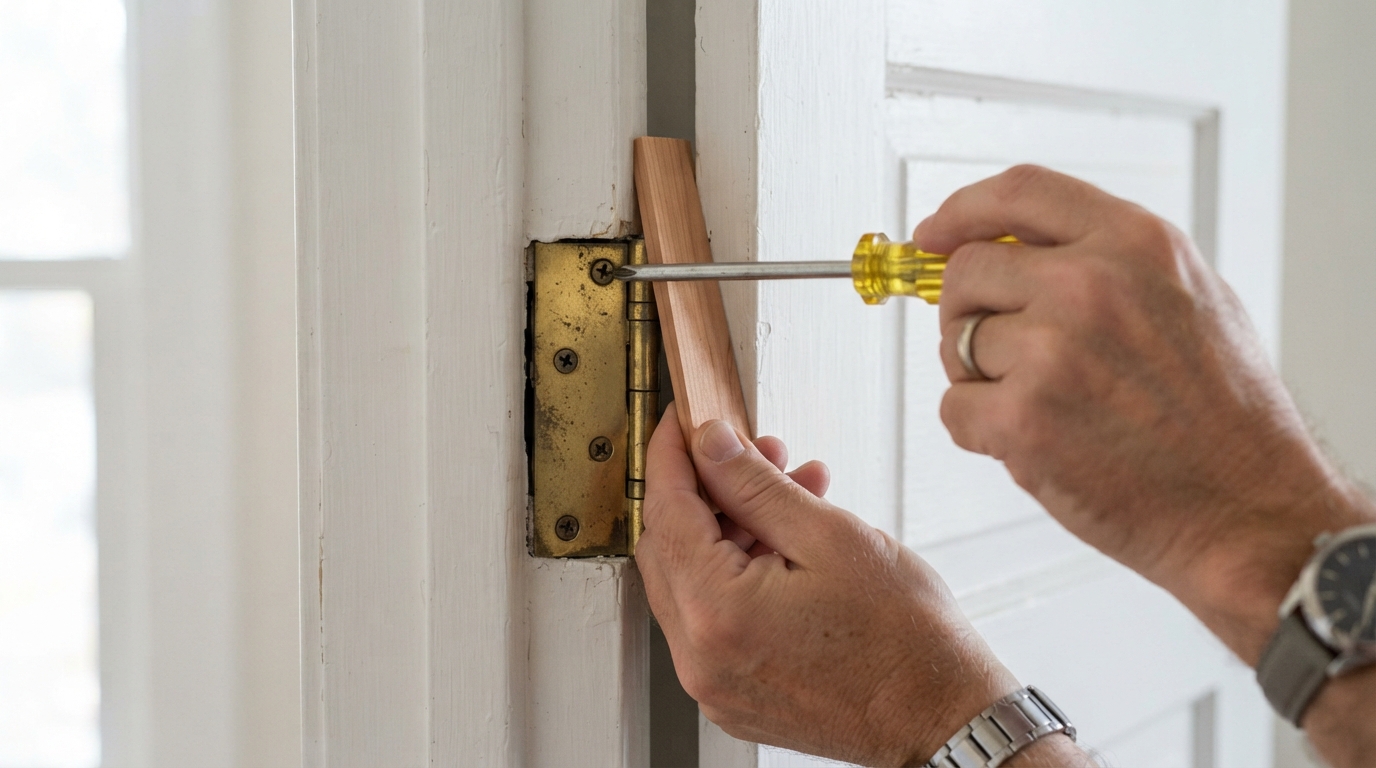
It usually starts with something so subtle you barely notice it. The bedroom door that once closed effortlessly begins rubbing against the frame. A faint scraping sound appears each time you open it. Soon, you find yourself lifting the handle slightly just to get the latch to catch. Before long, what was once a smooth-moving door has become a daily annoyance.
If you’ve found yourself searching for how to fix a sagging door, you’re far from alone. Door sagging is one of the most common household maintenance issues, affecting everything from interior bedroom doors to heavy front entryways. The good news is that a sagging door doesn’t automatically mean you need a replacement. In many cases, the problem can be solved with a few adjustments and a clear understanding of what’s causing it.
The challenge isn’t simply getting the door to close again. It’s identifying why the door has shifted in the first place. A lasting repair depends on addressing the root cause rather than masking the symptoms. Once you understand how doors are supported and why they move over time, the solution becomes much more straightforward.
Why Doors Begin to Sag
A door may seem like a simple fixture, but it constantly endures stress. Every time it’s opened or closed, weight pulls downward on the hinges. Over months and years, that repeated movement gradually loosens screws, compresses wood fibers, and shifts alignment.
Heavier doors experience this more quickly. Solid wood entry doors, for example, place considerably more strain on hinges than lightweight hollow-core interior doors. Seasonal changes also play a role. Wood naturally expands during humid weather and contracts in dry conditions, causing small movements that accumulate over time.
House settling is another factor. Even well-built homes shift slightly as foundations age. Those subtle structural changes can alter door frames enough to create rubbing, sticking, or uneven gaps.
Because several issues can produce similar symptoms, taking a closer look before making repairs saves both time and effort.
Recognizing the Signs of a Sagging Door
Not every difficult door is actually sagging. Sometimes swelling caused by moisture or paint buildup creates similar problems.
A true sagging door usually displays one or more recognizable signs. The top edge may rub against the frame, while the gap between the door and frame appears uneven. The latch may no longer align with the strike plate, requiring extra force to close the door. In more advanced cases, the bottom edge drags across flooring or thresholds.
One simple test involves slowly opening the door halfway and observing whether it moves on its own. If gravity causes the door to swing open or closed unexpectedly, the hinges may no longer be supporting it evenly.
These clues help narrow down the underlying cause before reaching for your toolbox.
Inspect the Hinges Before Anything Else
The majority of sagging doors can be traced back to the hinges.
Over time, hinge screws gradually loosen from repeated use. Even a slight amount of movement at the top hinge can shift the entire door several millimeters, enough to create rubbing or alignment problems.
Begin by examining every hinge closely. Look for loose screws, bent hinge leaves, worn hinge pins, or gaps between the hinge and the door frame.
Simply tightening every screw often resolves minor sagging immediately. Use a screwdriver instead of a power drill whenever possible to avoid stripping the screw holes.
If tightening doesn’t solve the problem, the screw holes themselves may have become enlarged from years of use.
Simple Fixes for Common Sagging Problems
Different causes require different solutions. Understanding which repair matches the problem prevents unnecessary work.
| Problem | Likely Cause | Recommended Fix |
|---|---|---|
| Door rubs at the top corner | Loose top hinge | Tighten or replace screws |
| Latch won’t align | Door has shifted downward | Adjust hinges or strike plate |
| Bottom drags on floor | Overall sagging | Reinforce upper hinge |
| Screws won’t tighten | Stripped screw holes | Fill holes and install longer screws |
| Door swings by itself | Frame or hinge misalignment | Realign hinges and inspect frame |
This quick comparison makes diagnosing the issue much easier before attempting more advanced repairs.
Replace Short Screws with Longer Ones
One of the most effective professional techniques is surprisingly simple.
Most factory-installed hinges are secured using relatively short screws that grip only the door frame. Replacing one or two screws in the top hinge with three-inch wood screws allows them to anchor into the wall stud behind the frame.
As the longer screws tighten, they gently pull the frame back into alignment, lifting the sagging side of the door.
This repair often corrects moderate sagging without removing the door or replacing any hardware.
Be careful not to overtighten the screws. Drawing the frame too far inward can create new alignment problems on the opposite side.
Repairing Stripped Screw Holes
Sometimes screws continue spinning no matter how tightly you turn them.
This usually indicates stripped wood inside the screw hole. Since the threads no longer grip solid material, the hinge cannot securely support the door.
Fortunately, repairing stripped holes is straightforward.
Remove the loose screw and fill the hole with wooden toothpicks or a wooden dowel coated in wood glue. Once the glue dries, trim the excess material flush with the surface before reinstalling the screw.
The repaired wood provides fresh material for the screw threads to grip, restoring much of the hinge’s original strength.
For severely damaged frames, replacing the affected section of wood may be necessary, but most household repairs don’t require that level of work.
Adjusting the Hinges for Better Alignment
Not every hinge sits perfectly after years of use.
Sometimes the hinge leaf becomes slightly bent or compressed, changing the door’s position even if the screws remain tight.
In these situations, removing the hinge and carefully straightening it may restore proper alignment. Some homeowners also use thin cardboard or plastic shims behind the hinge to make small adjustments.
Shimming changes the angle of the hinge just enough to improve the way the door sits inside the frame.
These tiny adjustments often produce surprisingly noticeable improvements because even a millimeter of movement at the hinge affects the entire door.
When the Door Frame Is the Real Problem
Occasionally, the door itself isn’t responsible for the issue.
Older homes naturally settle over time, causing slight movement in walls and door frames. If the frame has shifted out of square, simply tightening hinges may not fully solve the problem.
Check whether the gaps around the entire door remain consistent. Uneven spacing on multiple sides often suggests frame movement rather than hinge failure.
Repairing a shifted frame can involve loosening trim, adding shims behind the jamb, and carefully re-securing the frame in its proper position.
While this repair requires more patience than tightening screws, it addresses the underlying cause instead of treating the symptoms.
Should You Plane or Sand the Door?
Many people instinctively reach for a sander when a door starts rubbing.
Although trimming the door edge may temporarily eliminate friction, it should generally be considered a last resort.
Removing wood doesn’t correct the actual sagging. If the hinges continue loosening, the door may eventually require additional trimming, creating progressively larger gaps.
Only after confirming that hinges, screws, and frame alignment are correct should you consider carefully sanding or planing a small amount from the rubbing edge.
Even then, remove as little material as possible and refinish the exposed wood to protect it from moisture.
Preventing Future Door Sagging
Once you’ve restored proper alignment, a few preventative habits can significantly extend the life of the repair.
Periodically inspect hinge screws and tighten any that begin loosening. Avoid allowing children to swing on doors, as this places tremendous stress on hinges and frames.
Heavy decorative items such as over-the-door organizers can also contribute to long-term sagging, particularly on lightweight interior doors.
Keeping indoor humidity relatively stable helps minimize seasonal wood movement, especially in climates with dramatic weather changes.
Most importantly, address small alignment problems early. A door that has just begun rubbing is far easier to repair than one that has remained misaligned for several years.
Knowing When Professional Help Is Worth It
While most sagging doors can be repaired with basic tools, there are situations where expert assistance becomes worthwhile.
If multiple doors throughout the home suddenly become difficult to close, structural settling may be affecting the entire building. Similarly, cracked walls, uneven floors, or visibly distorted door frames can indicate larger foundation or framing issues.
In these cases, treating only the door may provide temporary relief without solving the underlying problem.
A professional carpenter can determine whether the issue lies with the hardware, frame, or structure itself, helping prevent repeated repairs.
Conclusion
Learning how to fix a sagging door isn’t simply about eliminating an irritating squeak or scrape. It’s about understanding how everyday use, gravity, and time gradually affect one of the most frequently used features in any home.
Fortunately, most sagging doors don’t require expensive replacements. Tightening loose hinges, reinforcing screws, repairing stripped holes, or making careful adjustments often restores smooth operation in less time than many homeowners expect.
The key is resisting the temptation to rely on quick cosmetic fixes before identifying the real cause. A well-repaired door should open effortlessly, close securely, and remain properly aligned for years to come. With a thoughtful approach and a few basic tools, even a frustrating sagging door can become a satisfying DIY success rather than an ongoing household annoyance.