
 By admin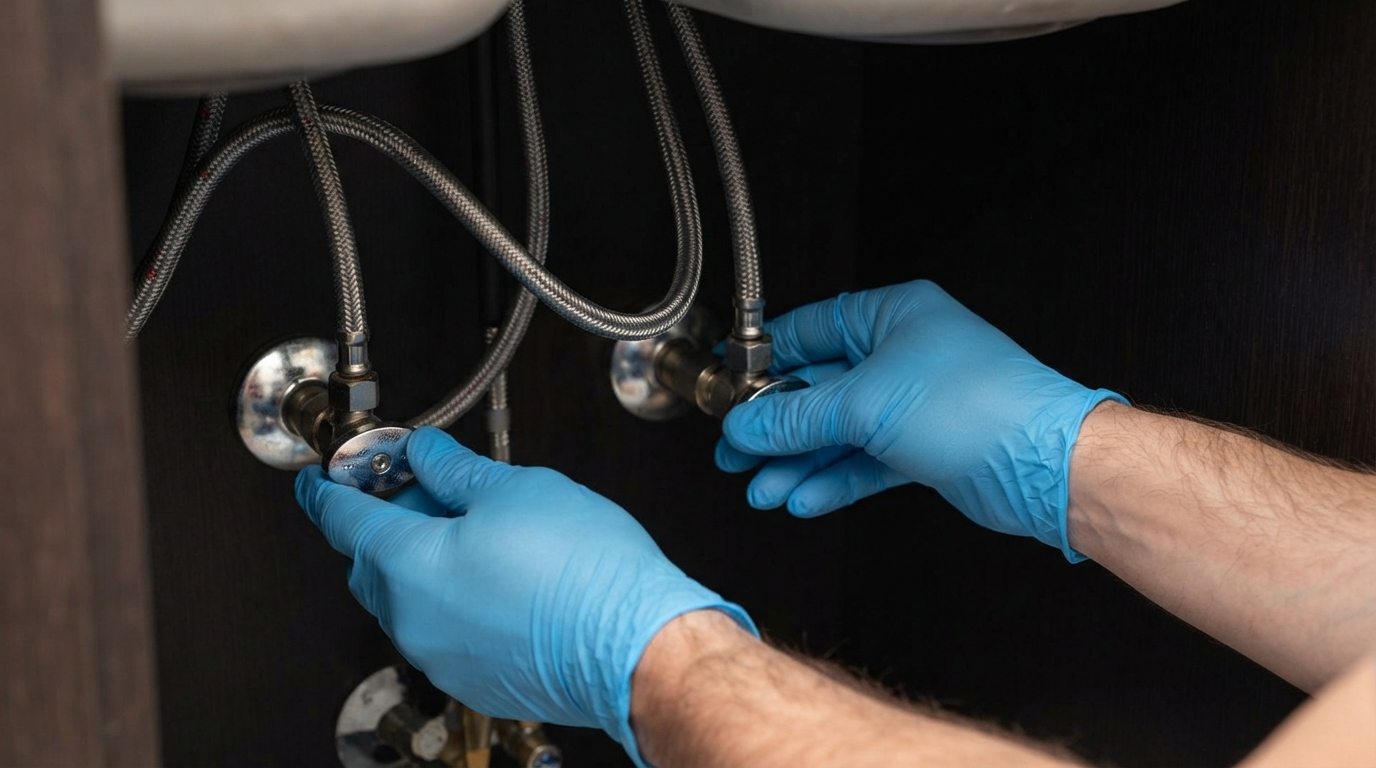
It usually begins with something so small it’s easy to ignore. A faucet starts dripping long after you’ve turned it off, or the handle feels unusually stiff every morning. At first, it’s little more than an annoyance. But over time, that steady drip wastes water, raises utility bills, and turns an otherwise functional kitchen or bathroom into a daily reminder that something needs attention.Many homeowners assume a leaking faucet means replacing the entire fixture. In reality, the culprit is often a worn-out cartridge hidden inside the faucet body. Learning how to replace faucet cartridge is one of the most practical home maintenance skills you can develop. It’s a repair that requires patience more than expertise, costs far less than installing a new faucet, and can restore smooth operation in less than an hour.
Whether you’re dealing with a persistent leak, inconsistent water temperature, or a handle that refuses to turn properly, replacing the cartridge is often the simplest and most effective solution.
Understanding What a Faucet Cartridge Does
Inside many modern faucets sits a small but essential component known as the cartridge. It regulates the flow of water and, in mixing faucets, controls the balance between hot and cold water. Every time you move the handle, the cartridge opens, closes, or adjusts internal passages that determine both pressure and temperature.
Because it’s constantly exposed to water pressure, minerals, and repeated movement, the cartridge gradually wears down. Rubber seals harden, internal components become scratched, and mineral deposits restrict movement. Eventually, even the highest-quality faucet begins to show signs of failure.
Replacing this single component often restores the faucet to like-new performance without replacing the entire fixture.
Signs Your Faucet Cartridge Needs Replacement
Not every plumbing issue points directly to the cartridge, but several common symptoms strongly suggest it’s time for a replacement.
| Symptom | Likely Cause |
|---|---|
| Faucet drips after being turned off | Worn cartridge seals |
| Handle is difficult to move | Mineral buildup or damaged cartridge |
| Water temperature changes unexpectedly | Internal cartridge wear |
| Reduced water flow | Debris or blockage inside cartridge |
| Water leaks around the handle | Failing cartridge seals |
If multiple symptoms appear together, replacing the cartridge is usually the most effective repair before considering a complete faucet replacement.
Gather the Right Tools Before You Begin
One reason this repair is approachable for most homeowners is that it requires only a handful of common tools.
You’ll typically need an adjustable wrench, Allen keys, a flathead screwdriver, Phillips screwdriver, slip-joint pliers, needle-nose pliers, a clean cloth, plumber’s grease, and the correct replacement cartridge for your faucet model.
Before purchasing a new cartridge, identify your faucet’s manufacturer and model number whenever possible. Although many cartridges appear similar, they are rarely interchangeable across different brands.
Having the correct replacement on hand prevents unnecessary delays once the faucet has been disassembled.
Turn Off the Water Supply
The most important step comes before removing a single screw.
Locate the shutoff valves beneath the sink and turn both the hot and cold water supplies clockwise until they stop. If individual shutoff valves aren’t available or don’t fully close, turn off the home’s main water supply instead.
Open the faucet afterward to release any remaining pressure and drain the lines.
Keeping a towel inside the sink helps catch small parts while protecting the finish from dropped tools.
Remove the Faucet Handle
Most faucet handles conceal their mounting hardware beneath a decorative cap or trim piece.
Carefully pry off the cap using a flathead screwdriver or your fingernail. Underneath, you’ll usually find either an Allen screw or a Phillips-head screw securing the handle.
Loosen the fastener without removing it completely if possible, then gently lift the handle away from the faucet body.
If the handle refuses to move, avoid excessive force. Mineral deposits often bind the components together. Applying penetrating oil and allowing it to sit for several minutes can make removal much easier.
Access the Cartridge
With the handle removed, additional retaining parts become visible.
Depending on the faucet design, you may encounter a decorative sleeve, retaining nut, or metal clip holding the cartridge in place.
Work methodically, removing each component in the order it appears. Taking photos during disassembly provides a helpful reference when reassembling the faucet later.
If your faucet uses a retaining clip, needle-nose pliers usually make removal straightforward. For retaining nuts, an adjustable wrench is typically sufficient.
Remove the Old Cartridge
This stage sometimes proves to be the most challenging.
Years of mineral deposits can cause cartridges to seize inside the faucet body. Begin by pulling upward while gently rocking the cartridge back and forth.
If it remains stuck, specialized cartridge pullers are available and can remove stubborn cartridges without damaging the faucet.
Once removed, inspect the old cartridge carefully. Compare its size, orientation, and connection points with the replacement to ensure they match exactly.
Even small differences can prevent proper installation.
Clean the Faucet Body
Before installing the new cartridge, take a few minutes to clean the inside of the faucet.
Mineral buildup, sediment, and corrosion can prevent the new cartridge from sealing properly.
Use a soft cloth or small brush to wipe away debris. If mineral deposits are significant, white vinegar can help dissolve buildup without damaging most faucet finishes.
Avoid scratching the internal surfaces, as smooth sealing areas are essential for leak-free operation.
Install the New Cartridge
Apply a very light coating of plumber’s grease to any rubber O-rings if recommended by the cartridge manufacturer.
Position the cartridge exactly as the original was installed. Most cartridges feature alignment tabs or notches that fit into matching grooves inside the faucet body.
Press the cartridge firmly into place until it seats completely.
Reinstall the retaining clip or retaining nut, ensuring it’s secure but not overtightened.
Proper alignment is essential. A cartridge installed incorrectly may restrict water flow or prevent the faucet handle from operating smoothly.
Reassemble the Faucet
With the cartridge secured, reinstall every component in the reverse order of removal.
Replace decorative sleeves, reinstall the handle, tighten the mounting screw, and snap the decorative cap back into place.
Take care not to overtighten screws, particularly on faucets with plastic internal components. Excessive force can crack parts or make future maintenance more difficult.
Once everything feels secure, you’re ready to restore the water supply.
Test the Repair
Slowly reopen both water shutoff valves beneath the sink.
Turn the faucet on gradually, allowing any trapped air to escape through the spout. Check both hot and cold water operation while observing for leaks around the handle, base, and supply connections.
Cycle the faucet through its full range of motion several times.
The handle should move smoothly, water flow should remain consistent, and the previous leak should be gone.
If you notice dripping continues, double-check cartridge alignment or confirm that the replacement part matches the original model.
Common Mistakes to Avoid
Many faucet repairs become unnecessarily complicated because of avoidable errors.
Using the wrong replacement cartridge is perhaps the most common mistake. Similar-looking cartridges often differ internally, making precise matching essential.
Failing to shut off the water completely can result in unexpected flooding once the faucet is opened.
Skipping the cleaning step may allow debris to interfere with the new cartridge’s seals, causing leaks even after replacement.
Applying excessive force during disassembly can damage decorative finishes or crack plastic components that would otherwise remain serviceable.
Finally, forgetting the order of removed parts can make reassembly frustrating. Simple photographs taken throughout the process eliminate much of this guesswork.
How Long Does a Faucet Cartridge Last?
A quality cartridge often lasts between eight and fifteen years, although actual lifespan depends on water quality, frequency of use, and maintenance.
Homes with hard water typically experience faster wear because minerals accumulate inside moving components. Installing a water softener or periodically cleaning faucet aerators can help extend cartridge life.
Routine inspection and prompt repairs also prevent small issues from becoming larger plumbing problems.
When Replacement Isn’t Enough
Occasionally, installing a new cartridge doesn’t resolve the issue.
Persistent leaks may indicate worn valve seats, cracked faucet bodies, damaged O-rings elsewhere in the assembly, or excessive corrosion inside older fixtures.
If the faucet itself shows signs of structural damage or replacement parts are no longer available, replacing the entire faucet may be the more practical long-term solution.
However, in most cases, a fresh cartridge restores reliable performance with minimal expense and effort.
Conclusion
Learning how to replace faucet cartridge is one of those home improvement skills that pays dividends well beyond the immediate repair. A simple cartridge replacement can eliminate persistent leaks, restore smooth operation, conserve water, and extend the life of an otherwise dependable faucet.
Rather than viewing a dripping faucet as the beginning of an expensive plumbing project, it’s worth recognizing that many issues originate from a single replaceable component. With the right tools, careful preparation, and attention to detail, this straightforward repair offers both immediate satisfaction and long-term savings. It’s a reminder that maintaining a home often comes down to understanding how small parts make a big difference.